She’s finally here! 🥹
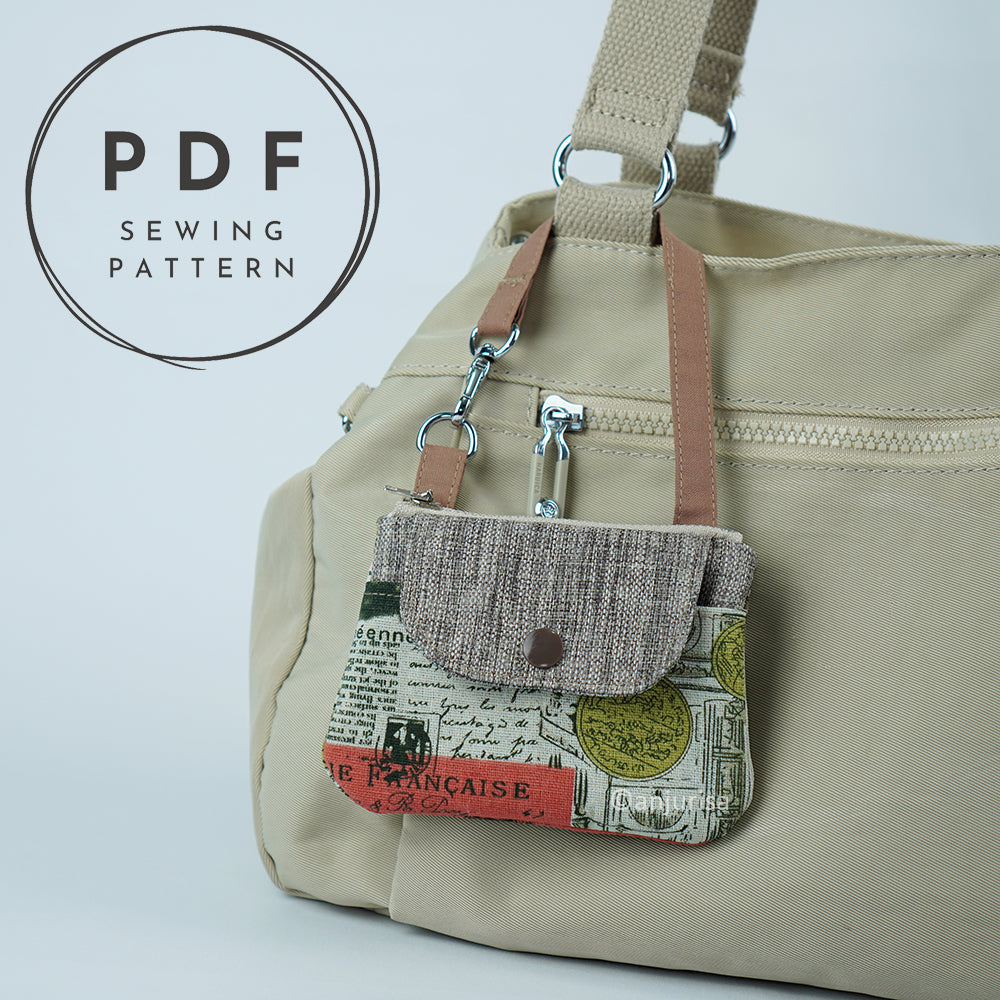
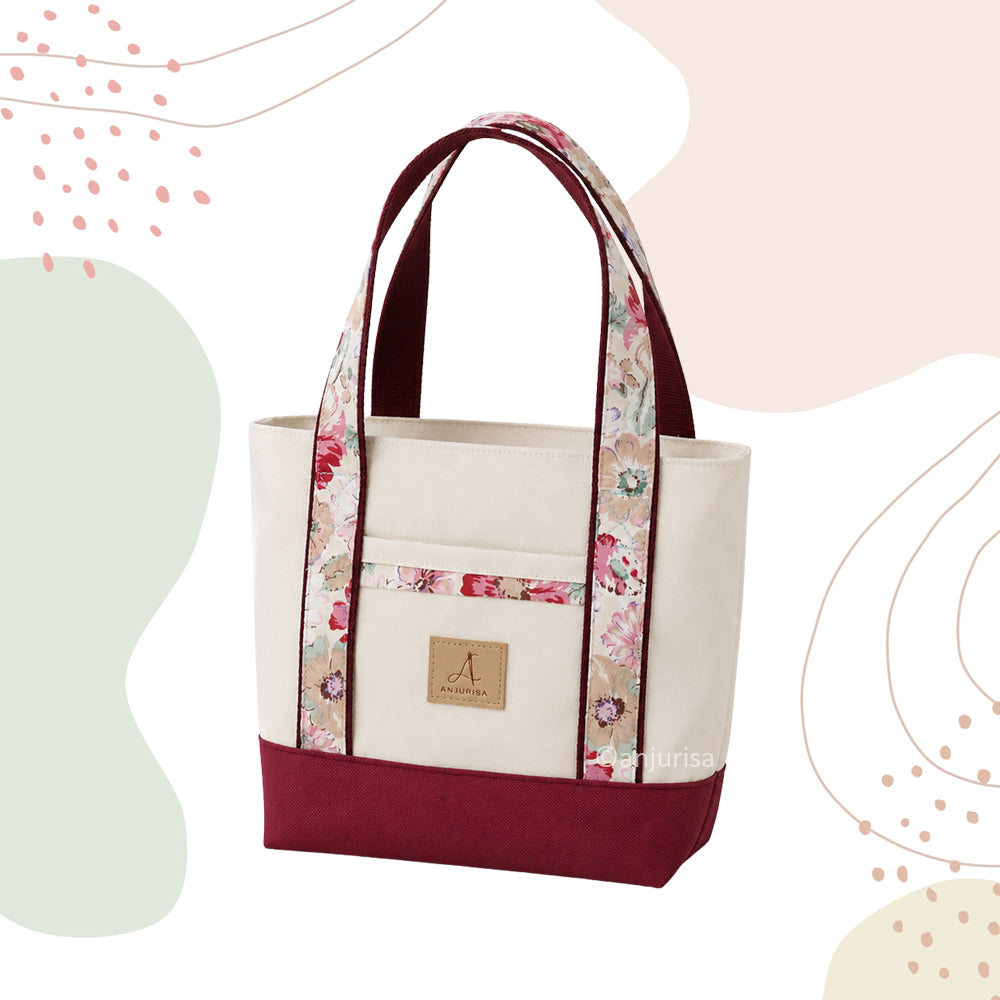
Introducing the CORA Tote, a beginner-friendly tote bag sewing pattern designed for sewists who want to create a practical, beautiful bag they’ll love to use every day.
I was worried about using too much fabric and ending up with a project that didn’t turn out the way I imagined. Tote bags require more materials, and I didn’t want all that fabric, time, and effort to go to waste.
So I started experimenting, testing different sizes, and making small adjustments until I found the balance I was looking for.
I kept wanting to make the tote bigger because a spacious bag is always tempting! But I also wanted it to keep its shape and not feel floppy. After many tests, I finally found a size and structure that felt just right: roomy enough for your daily essentials while still looking neat and polished.
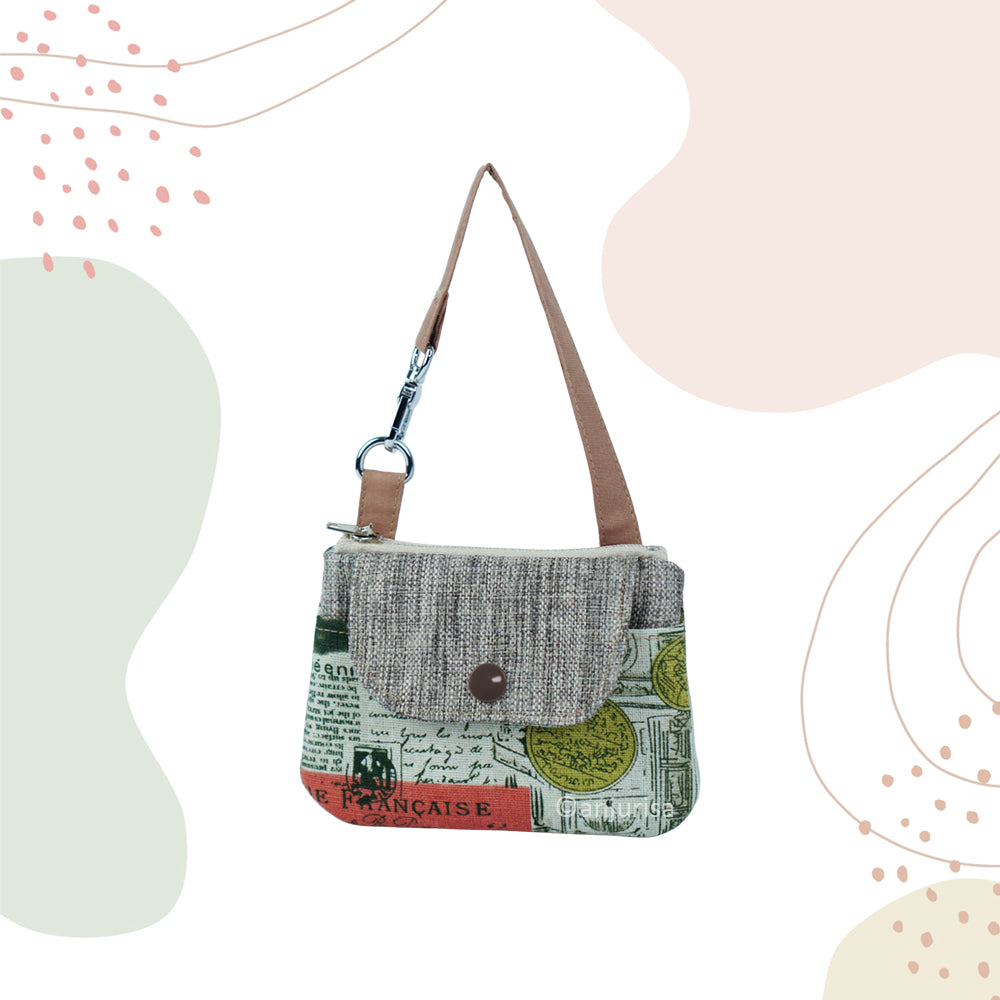
The CORA Tote features a clean silhouette with a charming front pocket detail, making it a fun project to explore different fabrics, colors, and personal touches. Whether you’re making your first tote bag or adding another handmade favorite to your collection, CORA is designed to help you create a bag you’ll feel proud to carry.
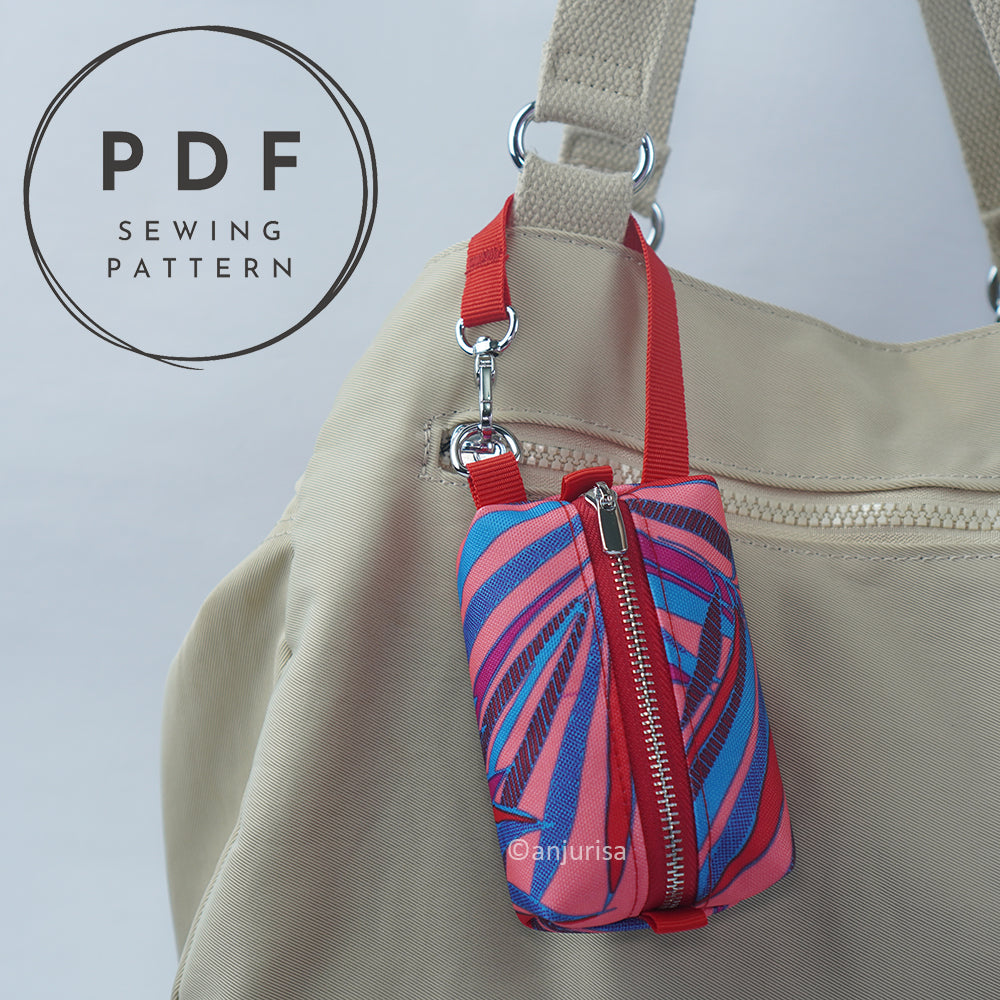
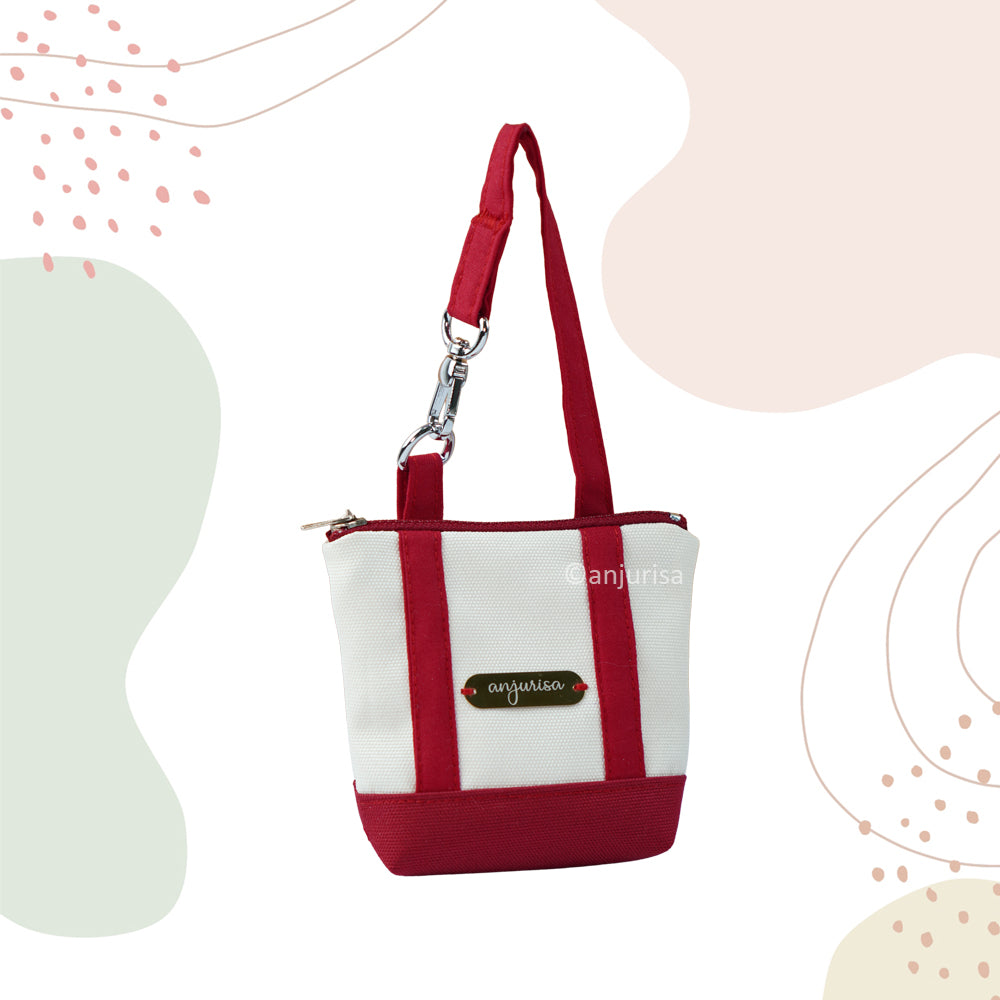
And of course… she and CARA make the sweetest handmade sister duo. 🥹

I can’t wait to see the fabric combinations and beautiful CORA Totes you create. Every handmade version becomes uniquely yours. 💕